Prerequisites
Before using voice input, ensure the following:- Microphone permission: QoderWork needs access to your system microphone. Grant permission when prompted, or enable it manually in your system settings (System Settings > Privacy & Security > Microphone on macOS).
- System speech recognition: Voice input relies on your operating system’s built-in speech recognition engine. Supported languages depend on which language packs are installed on your system.
How to Use
Start Recording
By default, hold the「Fn」key to start voice input without clicking anything; you can also click the microphone icon on the right side of the chat input box. The icon changes to indicate that recording is active.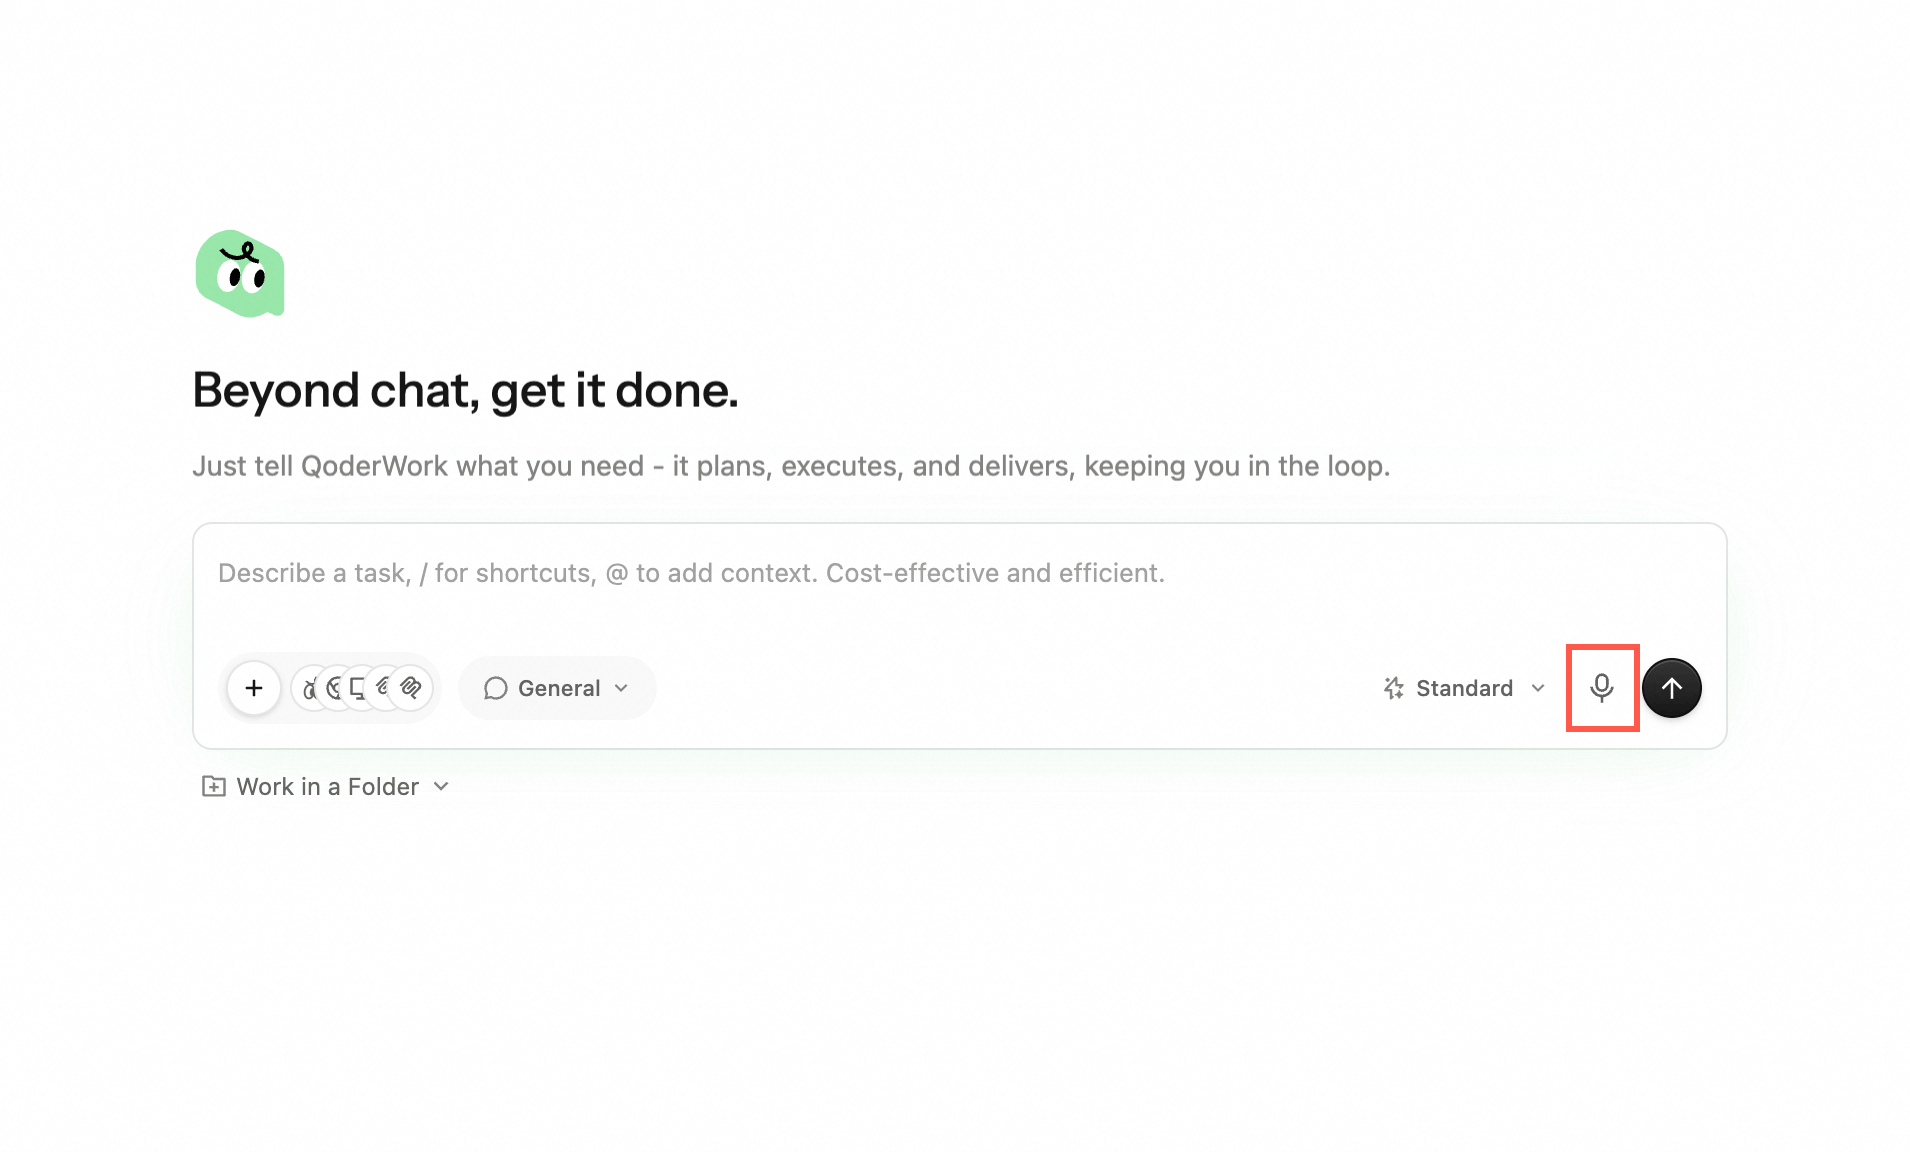
Speak Your Request
Speak clearly at a natural pace. Describe your task, ask a question, or dictate content. There is no strict time limit — speak as long as you need.
Review the Transcription
When you stop speaking, the audio is automatically transcribed into text in the input box. Read through it to check for accuracy.
Edit if Needed
You can freely edit the transcribed text — fix misheard words, add punctuation, or refine your phrasing before sending.
Best Practices
- Speak clearly and at a moderate pace. Rushing or mumbling can lead to transcription errors. A conversational speed works best.
- Pause briefly between sentences. This helps the speech recognition engine segment your words correctly and improves punctuation placement.
- Use voice for the first draft, typing for edits. Voice is great for getting ideas down quickly; switch to the keyboard for precise corrections.
- Ideal for longer descriptions. Voice input shines when you have a lot to say — multi-paragraph requirements, detailed instructions, or complex explanations are faster to speak than type.
- Minimize background noise. Use voice input in a reasonably quiet environment for the best transcription accuracy.
Use Case Examples
| Scenario | Example Voice Input |
|---|---|
| File organization | ”Sort all the files on my Desktop into folders — PDFs in one, images in another, and documents in a third.” |
| Document creation | ”Create a project status report for Q2 with sections for progress, blockers, and next steps.” |
| Browser task | ”Go to the company intranet, find the latest expense form, download it, and put it in my Documents folder.” |
| Data analysis | ”Open the sales spreadsheet on my Desktop and create a chart showing monthly revenue trends for this year.” |
| Quick follow-up | ”Actually, make the chart a bar chart instead, and add labels on each bar.” |
Combining with Other Features
Voice input works seamlessly alongside other QoderWork capabilities: Voice + file attachment. Attach a file and then use voice to describe what you want done with it. For example, attach a PDF and say “Summarize the key findings and list any action items.” Voice for follow-up instructions. After QoderWork delivers a result, use voice to quickly give feedback or request changes: “Make the title bigger” or “Add one more section about risks.”Next Steps
App Snapshots
Use the frontmost app as conversation context
Models
Available models and how to pick one
New Task
Pick models, workspaces, and extensions for new tasks