This guide explains the functionality of domain verification and how to configure it.
Applicable plans: Teams, Enterprise
Add a Domain
- As an organization administrator, navigate to Organization Settings > Email Domains.
- Click Add Domain.
- Enter your company's email domain (e.g.,
company.com, without the@symbol). - Click Add.
Only add domains that your organization owns and controls. Do not add public domains such as
gmail.com.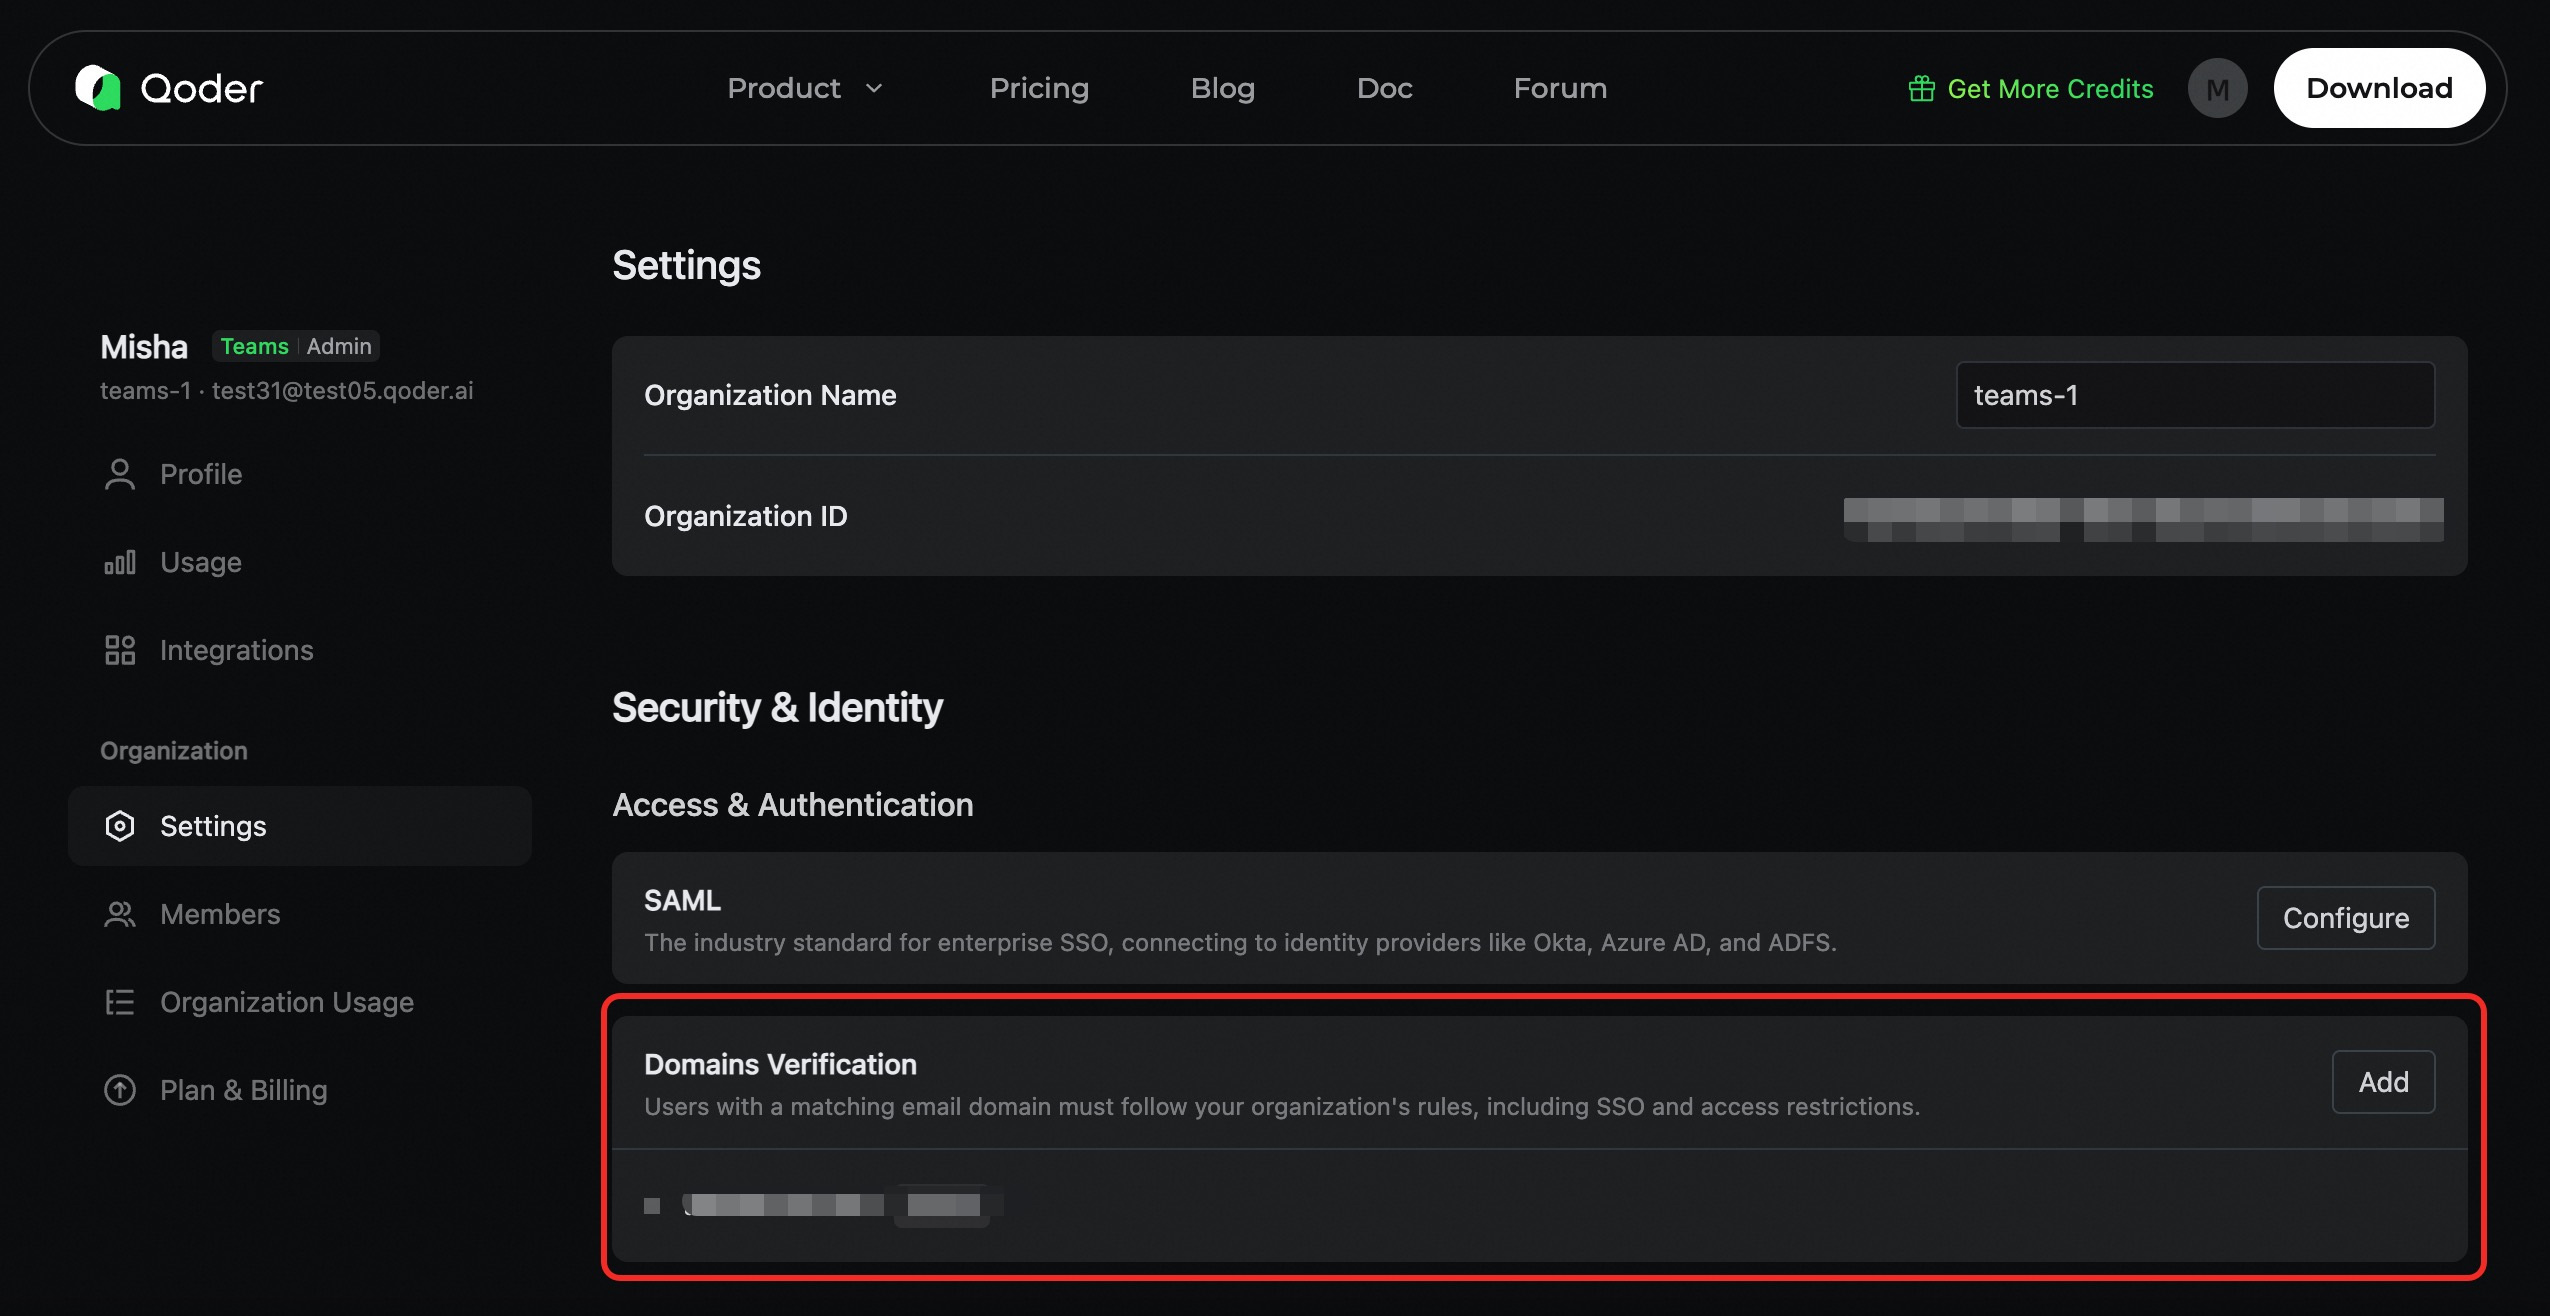
Add DNS TXT Record
Navigate to your domain's DNS management console and configure the following DNS TXT record:
| Field | Value | Example |
|---|---|---|
| Type | TXT | TXT |
| Host/Name | Your domain (or @ for the root domain) | company.com 或 @ |
| Value | The verification token provided by Qoder | a1b2c3d4e5f6g7h8i9j0... |
| TTL | 600 (or use the default value) | 600 |
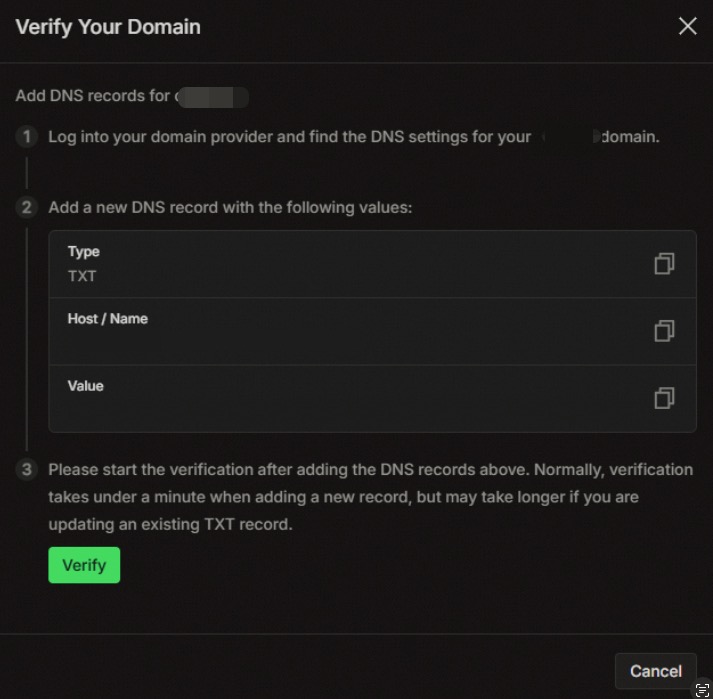
Verify the Domain
Once the DNS record has propagated, return to the Domain Management page in Qoder and click the Verify button to initiate the verification.
- If the verification is successful, the domain's status will change to Verified, and it will be enabled immediately.
- If the verification fails, the domain's status will change to Verification Failed. You can then review your configuration and try verifying again.